+86 177 3459 9158
+86 177 3459 9158
Jan. 14, 2025
Highlighter brushes are essential tools in the world of makeup, helping to enhance natural features and add a radiant glow to your look. Whether you're aiming for a subtle sheen or a dramatic strobe effect, choosing the right highlighter brush is key. In this article, we'll explore the origins and uses of highlighter brushes, the different types available, and tips for using them effectively. As a professional makeup artist, I'll also share some personal insights to help you achieve the perfect glow.
Highlighter brushes are specifically designed to apply highlighter products to targeted areas of the face, such as the cheekbones, brow bones, nose bridge, and Cupid's bow. Their primary purpose is to enhance the high points of the face, creating a luminous, sculpted appearance.
Historically, highlighting as a makeup technique dates back to theater and photography, where light and shadow were used to emphasize facial features. With the rise of modern makeup trends like contouring and strobing, highlighter brushes have become a staple in many beauty routines. Unlike general-purpose brushes, highlighter brushes are tailored to provide precision and control, ensuring a flawless finish without overloading the skin with product.
There are several types of highlighter brushes, each designed for specific applications and effects. Let's take a closer look at the most common ones:
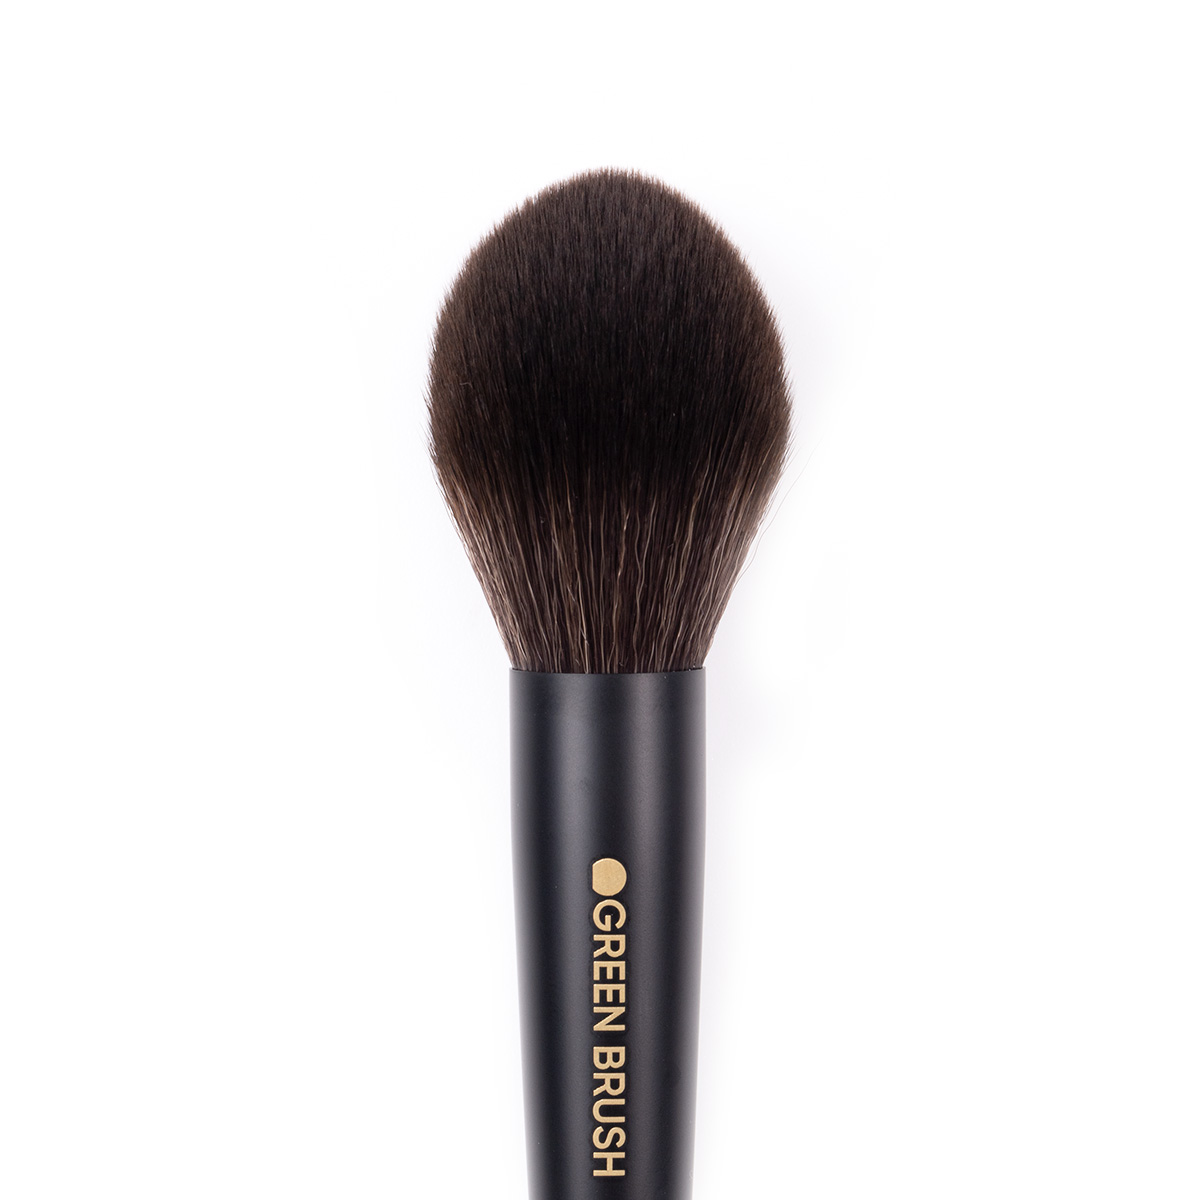
Characteristics: This brush features a tapered, slightly pointed shape with soft, dense bristles. The pointed tip allows for precision, while the denser base picks up and distributes product evenly.
Uses: The tapered highlighter brush is perfect for applying highlighter to small, precise areas such as the tops of the cheekbones or the bridge of the nose. It's ideal for creating a controlled, polished glow.
Pro Tip: I often recommend this brush to clients who prefer powder highlighters, as its design helps blend the product seamlessly for a natural look.

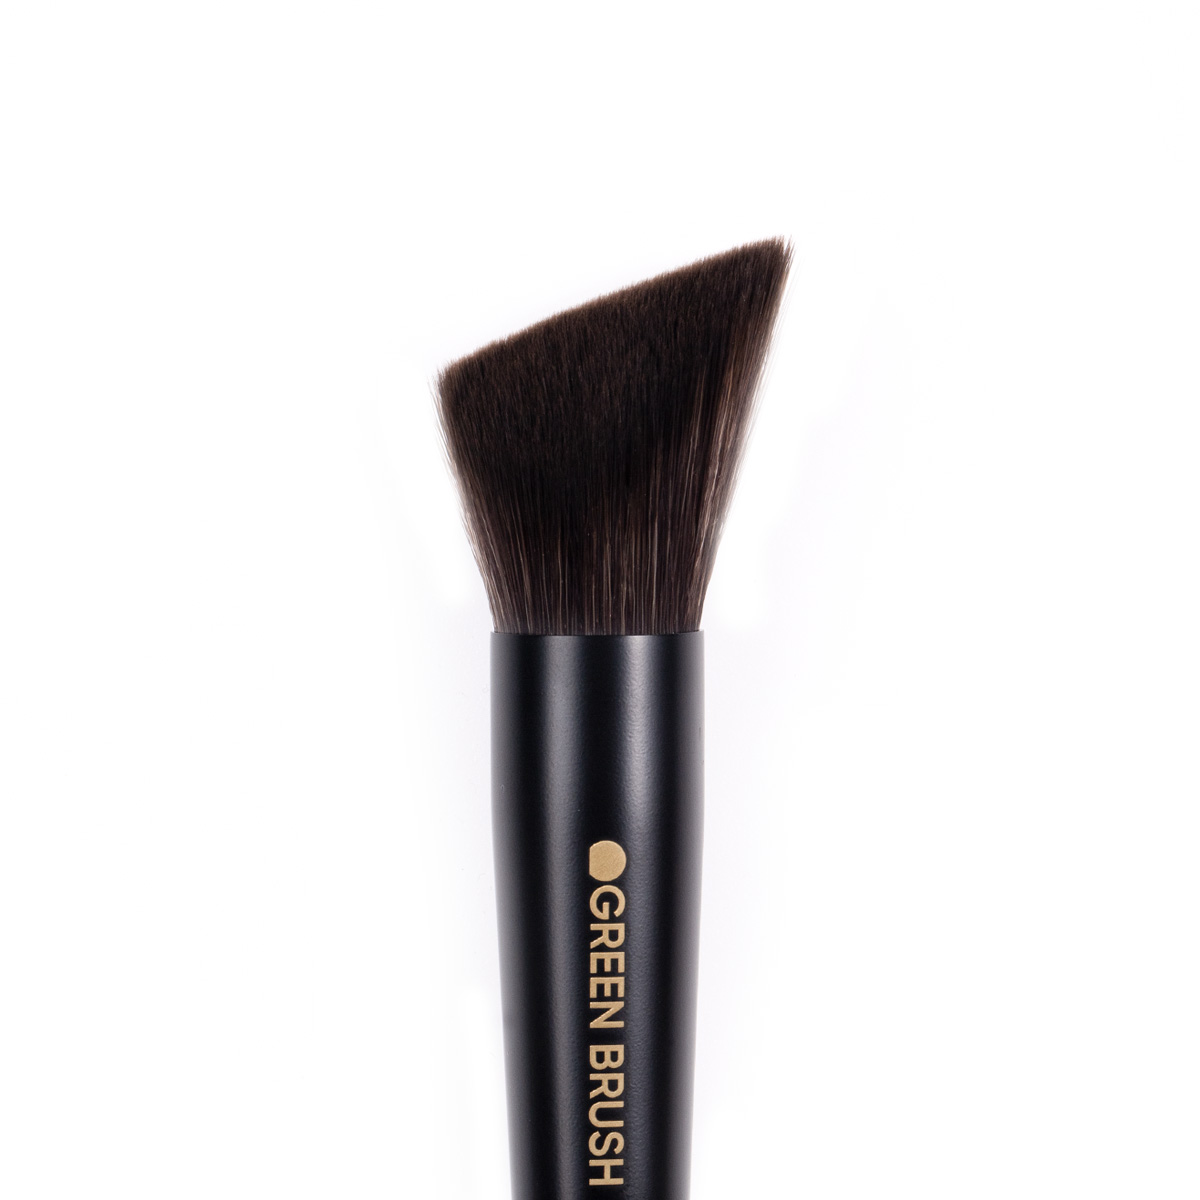
Characteristics: This brush has a flat, paddle-like shape with densely packed bristles. It is designed to press the product onto the skin rather than sweep it.
Uses: The chiseled highlighter brush is excellent for applying cream or liquid highlighters. Its flat surface ensures even coverage and prevents streaks, making it ideal for a high-impact glow.
Pro Tip: I personally use this brush when working with clients who want a bold, editorial-style highlight, as it delivers a concentrated burst of luminosity.

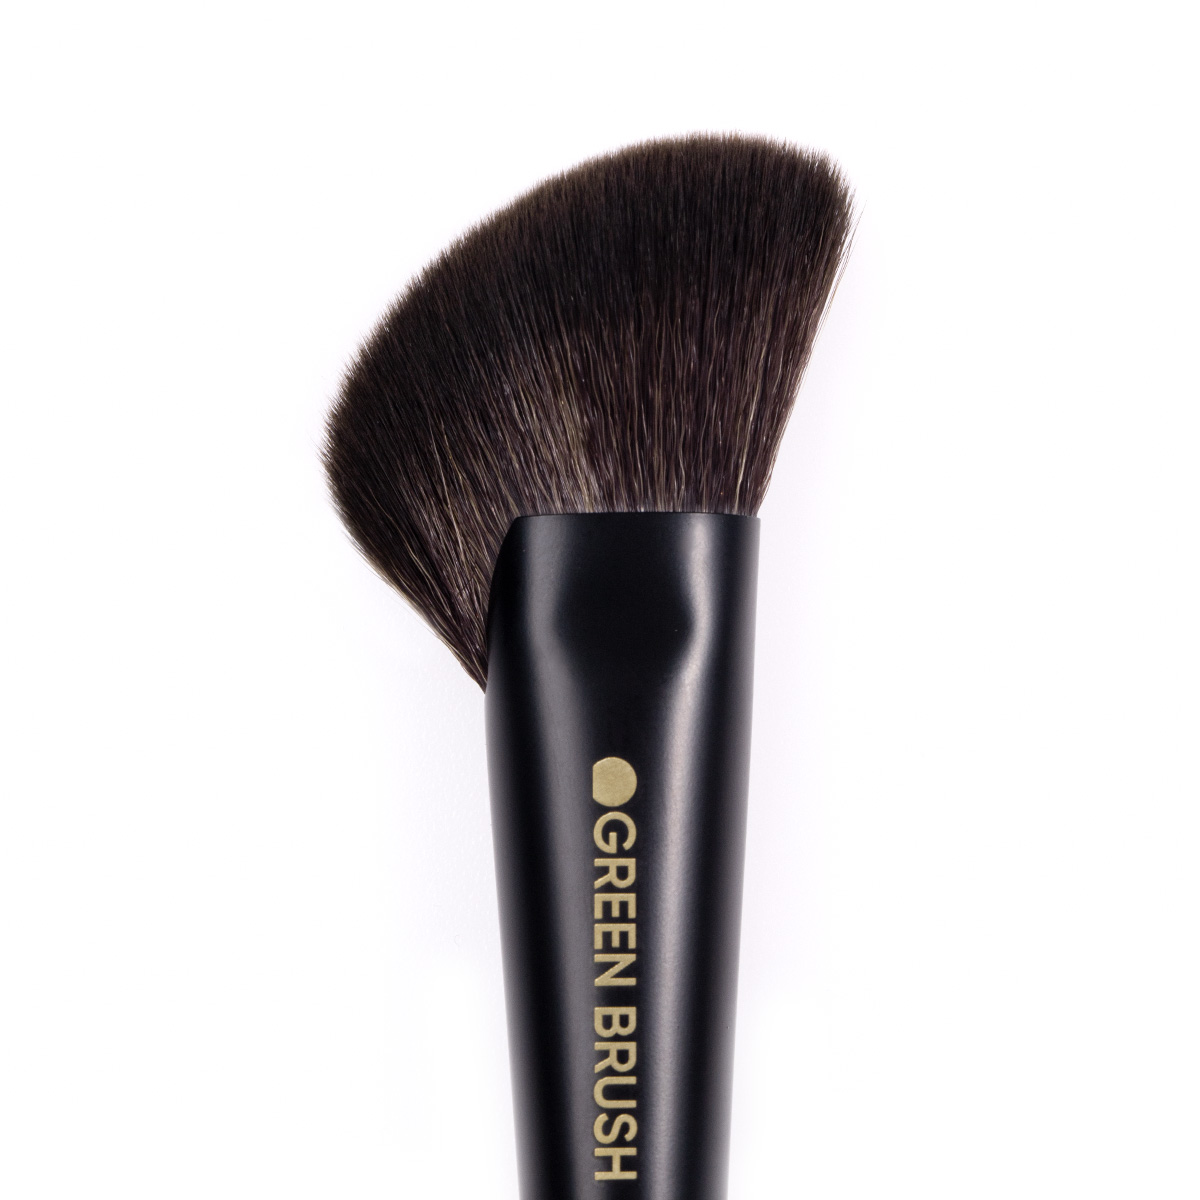
Characteristics: With an angled, slanted edge, this brush conforms to the natural contours of the face, making it versatile and easy to use.
Uses: This brush works well for both powder and cream highlighters. Its shape allows for precise application along the cheekbones, jawline, and temples, blending effortlessly for a soft-focus effect.
Pro Tip: If you're a beginner, this brush is a great starting point. Its ergonomic design makes it intuitive and forgiving, ensuring a smooth application.

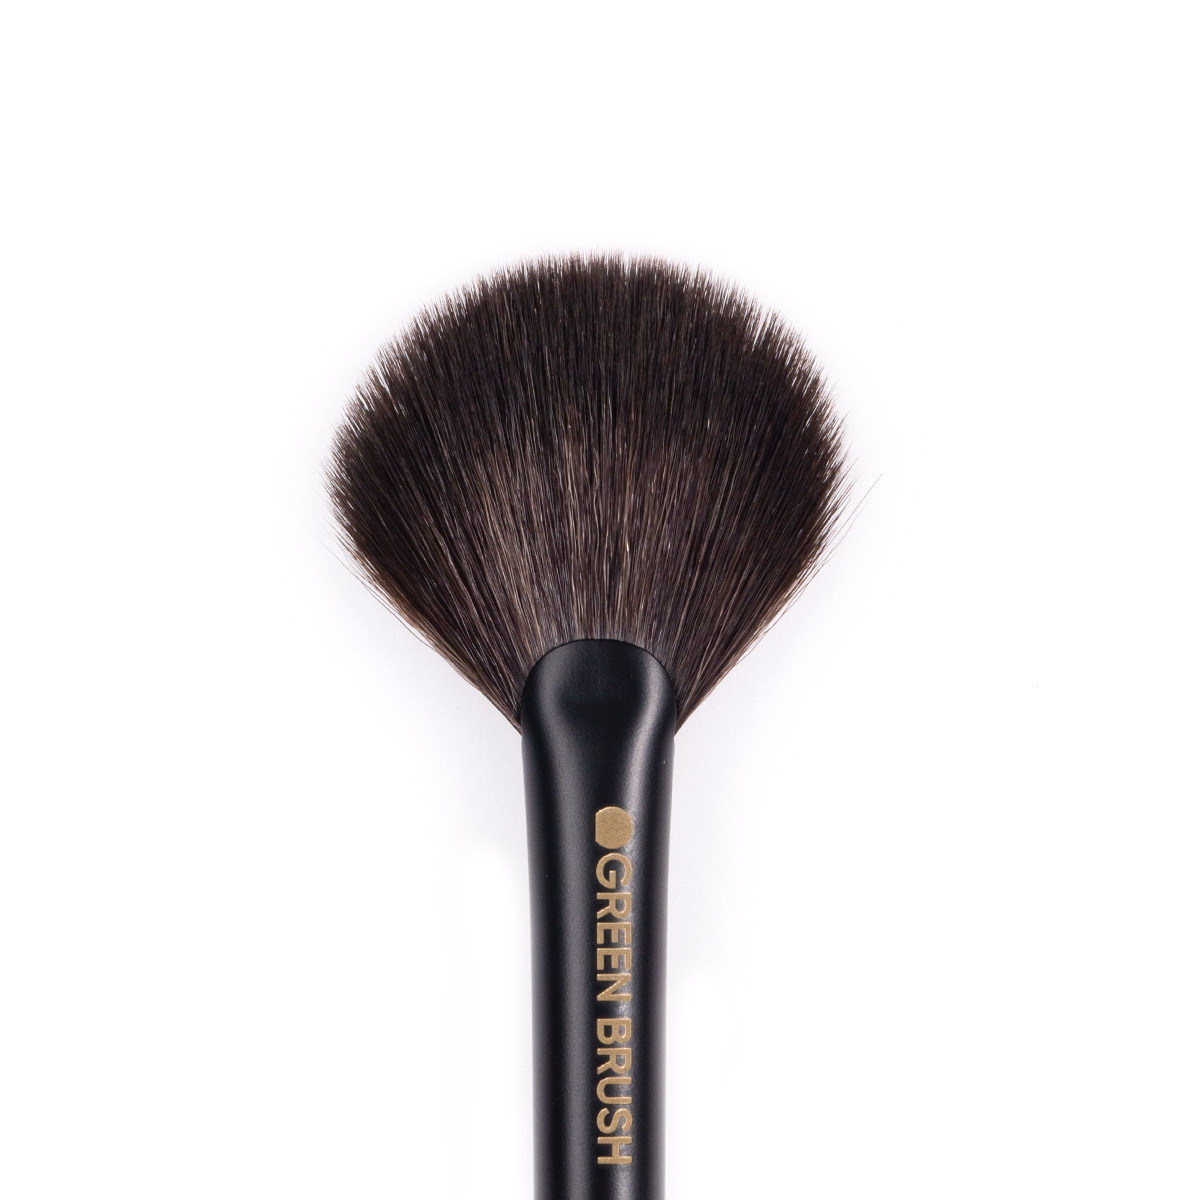
Characteristics: The fan brush has a wide, flat shape with sparse bristles, resembling a small fan. It is lightweight and airy, designed for a delicate touch.
Uses: The fan brush is perfect for achieving a soft, diffused glow. It works best with powder highlighters and is excellent for lightly sweeping product onto larger areas like the collarbones or shoulders.
Pro Tip: I love using this brush for clients who prefer a natural, lit-from-within look. It's also fantastic for dusting away excess product, making it a versatile addition to any kit.

A highlighter brush is best used when applying highlighter products to specific areas where light naturally hits the face. This includes:
Cheekbones: To lift and sculpt the face.
Brow Bones: To add definition and open up the eyes.
Nose Bridge: To create the illusion of a straighter nose.
Cupid's Bow: To enhance the lips and make them appear fuller.
Inner Corners of the Eyes: To brighten and awaken the eyes.
Highlighter brushes are also ideal for special occasions or when you want your makeup to stand out. For daily wear, a light sweep with a fan brush may suffice, while for events, a chiseled or tapered brush can help you achieve a more dramatic effect.
If you don't have a highlighter brush on hand, don't worry! Several other brushes can serve as substitutes:
Eyeshadow Blending Brush: A fluffy blending brush works well for applying highlighter to smaller areas, such as the brow bones and inner corners of the eyes.
Small Powder Brush: A small, rounded powder brush can double as a highlighter brush for larger areas like the cheekbones.
Contour Brush: An angled contour brush can be used for precise application, especially along the cheekbones and temples.
Fingers: For cream or liquid highlighters, your fingers can be the best tool. The warmth of your skin helps blend the product seamlessly.
Choosing the right highlighter brush can elevate your makeup game and make all the difference in your final look. Each type of brush offers unique benefits, and the best one for you depends on your preferred products, techniques, and desired effect. As a professional makeup artist, I recommend experimenting with different brushes to discover what works best for you. Remember, makeup is an art, and the tools you use are just as important as the products themselves. With the right highlighter brush, you can achieve a radiant, flawless glow every time.
Leave a Message
